Fine Artwork Lighting
Art museums illuminate every sculpture, painting and special object in a unique way to display them most effectively. The fine art in your home or office needs this same level of piece-by-piece attention to perfect illumination.
Let's look at some examples.
Lighting Flat Art Pieces - "Cynthia"
Paintings and photographs look best when the illumination is evenly distributed across the entire surface - varying no more than about 20% from one area to another.
1.) Use one, or a pair of, soft flood fixtures covering the full area of the image.
2.) Have each light source far enough away to provide even illumination.
3.) Avoid using cover glass or acrylic, as these result in annoying glare. Or use a sheet of frosted acrylic.

Lighting Slightly Dimensional Pieces - "The Magician"
Lighting for these is similar to what you would use for a totally flat surface, while also increasing the appearance of the artwork's physical depth.
1.) Notice that the Magician's hat projects off the surface of this piece. So we have used a single intense light to bring out one clean, visible shadow of the Magician's hat, as well as adding highlights on the head and shoulder.
2.) A second narrow, but less intense, light is used on the lower portions of the piece, to add softer shadows at the bottom of the Magician's cloak while still ensuring overall even light on the entire piece.

Lighting Figurative Sculptures - "Sunday Hat"
Whereas soft, broad lighting looks best with flat artworks, a single, highly focused fixture is best with most figurative sculptures.
This lighting's contrast between bright and shadowed areas enhances the dimensional features of the sculpture, making them stand out more, especially when viewed from a distance.
The ideal location of the fixture lighting a sculpture is from a point approximately 45 degrees above, and 15 to 20 degrees from the side.
The resultant single shadow further enhances the dimensional view from both close and distant viewing positions.

Lighting Complex Sculptures - "Metamorphosis"
In this piece, we have a woman's figure as the centerpiece, surrounded by butterflies.
As with the Sunday Hat, we use a single narrowly focused fixture, so every butterfly is fully lighted and each has only one shadow.
Also as with Sunday Hat, Metamorphosis has the light directed from a position very near the front but at a higher angle, so people can view this very closely without casting their own shadows on the piece.

I Don't Have Enough Separate Fixtures
Most homes and offices are lighted primarily by soft downlights in the ceiling. These tend to wash out all character and overall design to a room, while also yielding unpleasantly flat top-down illumination for the artworks.
One solution is to basically start over, by having an electrician install many individual, steerable spotlights in the ceiling. A simpler solution, which looks good and allows for much more ability to change lighting when new artworks are placed, is to install a multi-headed ceiling fixture to replace a single downlight.
Then each light can be precisely focused where it will achieve the best effect.

Lighting Other Types of Sculpture - "Inuit Bone and Stone"
In the prior examples, we used relatively soft single-point lighting, which best fits the soft tones of the women's features.
For these pieces, which have stronger features and are more deeply sculpted, we want to emphasize the textures that were carved into stone and bone pieces.
We accomplish this by placing a single intense, very narrow-beam spotlight directly above each piece. These pieces are installed in a wall unit, where we have access to these specialized lights just above the heads of the figures.

Illuminating Glass Sculptures - "Etruscan Bottle"
Glass artworks can be the most difficult to light properly, as each piece has its own special needs. Let's take a look at a few examples.
To make this heavily frosted bottle glow as if from within in this location between sets of artwork books, we cut a shallow channel into the back of the shelf. Then installed a very thin strip of dimmer-controlled LED lights, so we don't see the light source, but it radiates through the entire bottle.

Illuminating Glass Sculptures - "Glass and Iron"
Here our approach is similar to that of the Etruscan bottle - with an area of illumination in a slot at the back of the bottom shelf.
The thin bottom strip light provides the strong contrast of light and dark as we view the iron base of the sculpture. An additional hidden soft light from above brings out the color in the glass.

Illuminating Glass Sculptures - "Glass Buddha"
None of our usual techniques worked with this piece. Lighting it from any angle resulted in surface glare and the sculpture's features being washed out.
Then we tried something different: A thin, flat lighted disc that could be stuck onto the back of the head.
That made it glow from within without obscuring any of the sculpture's beautiful features.

Illuminating Glass Sculptures - "Murano Glass Bowl"
This piece was doubly complex to light. First of all, any light shown from the front immediately caused terrible glare. And the multi-colored bands of glass within the piece needed to be shown off properly.
After much testing, we came up with two solutions:
1.) First, we raised the bowl onto a crystal cube. This made the side bands of light through the glass layers cast those wonderful associated shadow bands.
Using a small center light and 2 very compact and intense side lights enhanced those bands, making the bowl appear to float in space.

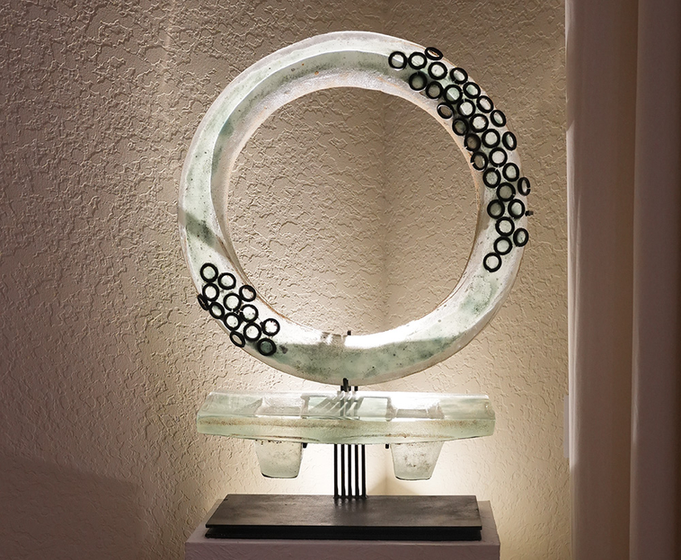
Illuminating Glass Sculptures - "Large Glass Ring"
Testing quickly revealed that no frontal source of lighting onto this piece was very effective. And lighting from below through a glass plate did not work very well either.
But since this piece and its pedestal were to be installed in the corner of the living room, we had plenty of room behind to add a bright, angled spot that illuminates upwards.
A secondary benefit is a wonderful lighting pattern on the high ceiling above.
What About Specialty Lighting?
There are tiny lights in kitchen and living room cabinets, floor lamps, self-illuminated art pieces, under-cabinet lights, walkway lights, and night lights.
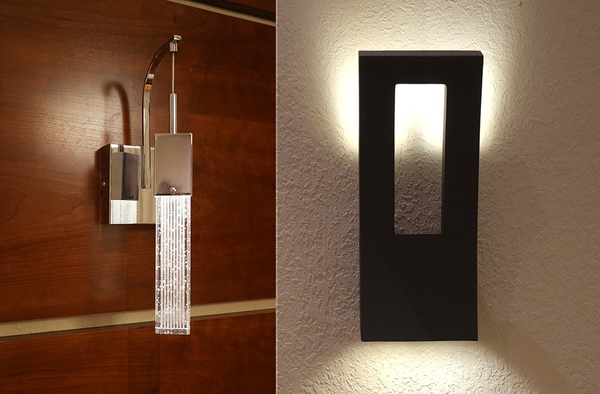
Then there are decorative sconces that do not provide much illumination but add beauty and character to your home.
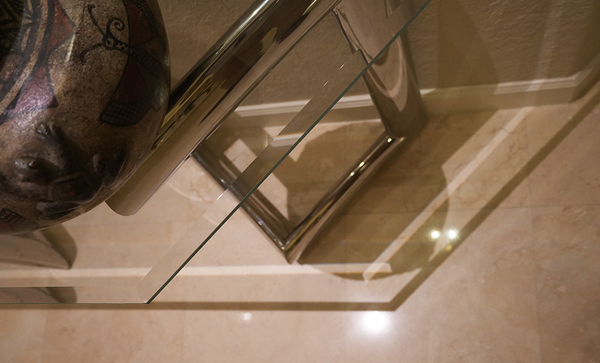
And, if you have glass-topped furniture with beveled edges, the very narrow lights we use for artworks can also create some interesting effects on the floor.
Each of these elements, if subtly added in the right locations and with just the right level of light intensity, can enhance your total environment without calling excessive attention to their existence.
How Do We Control So Many Fixtures?
We accomplish this by installing multiple "Smart" dimmers instead of the existing switches and conventional dimmers.
We generally use Lutron Caseta dimmers for this purpose. Then we program groups of dimmers into "Scenes." A Scene is a group of lights, each having its own dimmer settings, which can be controlled as a group.
Example: You are watching TV in the Family room and want that room to be at a comfortable reduced light level. So you tell Alexa (Siri, Google, etc.), "Turn on Evening."
Then a friend rings your doorbell, and you want to raise the light level in the living room to greet them. Press one button on your phone or call out to make this happen.